
Holiday Digital Christmas Tree Bokeh Background – Easy Peasy way to create a bokeh background…. create your own bokeh from a christmas tree image.
Find an image that contains a concentrated area of the colors you want to use for your bokeh background. OR create one! The holiday season is great for this as you probably already have a tree you can use. If you have a large tree up take a photo of the center of it.
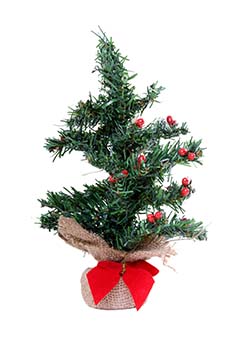
OR buy a small tree like the example to the left, and follow the steps below to fill the page with the tree branches below.
- Take a photo of tree on white background. Isolate the image using the refine edge tool. Save as a PSD file.
- Create a new document: File>new white background, as large as you want it.
- Drag the isolated tree psd file to your new document
- Make duplicate layers of the tree by clicking on the tree layer and then ctrl-j. Randomly move the tree layers to fill up page. Save as PSD file.
- Flatten image go to layer>flatten image.

Field Blur
- Use the flattened tree image. Go to filter>Blur>Field Blur. **note: if image is not flattened, you will not be able to use the field blur tool.
- Check the field blur box, blur to your liking. I blurred mine to approx 140 px.
- Check the bokeh box, settings: light bokeh: 50%, color bokeh 50% light range between 160 and 255. Adjust to your liking.
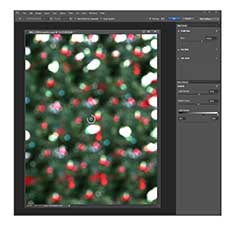
- Click ok when done. Here is a screenshot of the field blur menu on the left.
Photo to the right is a section of the tree bokeh paper that was made.
I changed the colors by using the Image>new adjustment layer>saturation, and also image>new adjustment layer> color balance. Play with the sliders until you see a color you like that will match the subject you are going to place in front of it. Now you are ready to use your background and get creative!